






How to Install a Privacy Screen on a Chain Link Fence

Andrew Hession, August 29, 2024
Read more about the author


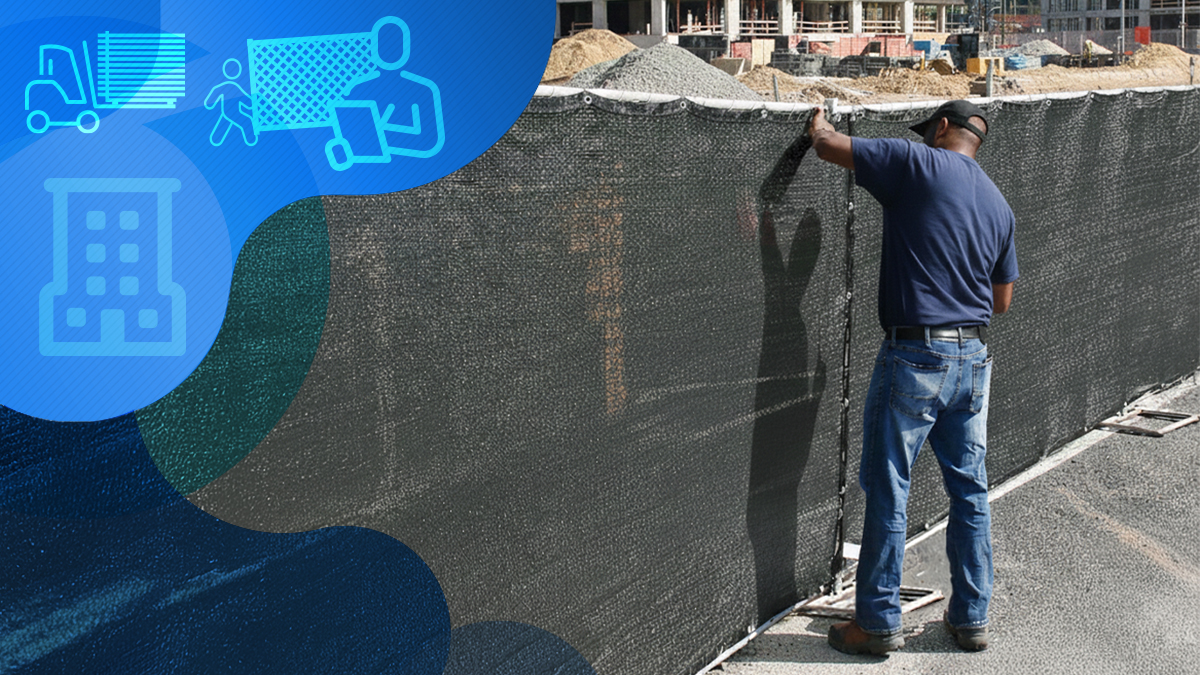
Whether you are securing a construction site, improving privacy around an event venue, or reducing visibility at a commercial property, installing a privacy screen correctly makes a significant difference.
A properly installed screen creates a cleaner appearance, minimizes sagging, extends the life of the material, and performs better in changing weather conditions.
While the installation process is straightforward, taking a few extra minutes to prepare your fence and secure the screen correctly will help you avoid wrinkles, loose attachment points, and unnecessary wear over time.
This guide walks you through every step of the installation process, from gathering the right materials to inspecting the finished installation.
Key Takeaways
- Measure your fence before ordering or installing a privacy screen.
- Use heavy duty UV resistant zip ties designed for outdoor applications.
- Attach the screen from the top down while keeping even tension across the material.
- Inspect the installation after completion and periodically during use, especially after severe weather.
What You Will Need Before Installing a Privacy Screen
Having the right tools on hand makes installation faster and ensures the screen remains secure.
- Before you begin, gather the following:
- Privacy fence screen
- Heavy duty UV resistant zip ties or fence ties
- Measuring tape
- Utility knife or scissors
- Ladder if installing on taller fencing
- Work gloves
- Safety glasses
If you are installing the screen on temporary fence panels, verify that the fencing is properly stabilized before attaching the screen.

Step-by-Step Guide to Installing Your Privacy Fence Screen
Installing a privacy screen is a straightforward process that requires only a few basic tools and careful attention to detail. By working from the top of the fence downward and maintaining even tension throughout the installation, you can achieve a clean, professional appearance while improving the screen's durability and performance.
Before you begin, make sure you have all of the necessary materials and enough working space to move safely around the fence.
Step 1: Measure the Fence
Measure the total width and height of the fence where the screen will be installed. Confirm that the screen dimensions match your fence and identify any obstacles such as gates, support posts, or braces that may require adjustments during installation.
Accurate measurements help eliminate wrinkles and reduce excess material.
Step 2: Lay Out the Privacy Screen
Unroll the privacy screen and place it alongside the fence. Locate the finished edges, reinforced grommets, or attachment points before lifting the material into position. If the screen has been folded for shipping, allow it to relax for several minutes before installation.
Step 3: Secure the Top Corners
Begin by attaching one top corner of the screen to the fence. Move to the opposite corner and pull the material until it is straight without overstretching it.
Securing both top corners first creates a stable starting point and helps maintain even alignment throughout the installation.

Step 5: Secure the Sides
Once the top is complete, move down each side of the screen. Pull the material gently to remove wrinkles while attaching the side edges to the fence.
Avoid pulling the fabric too tightly, as excessive tension can shorten the lifespan of the screen or place unnecessary stress on the grommets.
Step 6: Finish with the Bottom Edge
Complete the installation by securing the bottom edge. Work across the fence while smoothing the material as you go.
The finished screen should appear flat, evenly tensioned, and free of large wrinkles or loose areas. Trim any excess length from the zip ties for a clean professional appearance.
How Long Does It Take to Install a Privacy Screen?
Based on SONCO's experience supplying privacy screens for construction sites, commercial properties, sports venues, and event spaces, most privacy screen installations take anywhere from a few hours to a full day.
The exact installation time depends on several factors, including the size of the fence, the type of privacy screen, site conditions, and whether the work is completed by one installer or a team.
For larger projects, we recommend breaking long fence runs into smaller sections. This approach helps maintain consistent alignment, keeps the screen under even tension, and reduces the need for adjustments as the installation progresses.
Access around the fence, the weight of the screen, and the desired privacy level can also influence the overall installation time.
With the right preparation and installation method, most projects can be completed efficiently while delivering a clean, secure, and professional result.
Now that you know what to expect, follow the step by step instructions below to install your privacy screen correctly.
How Far Apart Should Zip Ties Be?
Proper attachment spacing is one of the most important factors in a successful installation.
For most chain link fence privacy screens, follow these recommendations:
• Top edge: Every 12 to 18 inches
• Side edges: Every 18 to 24 inches
• Bottom edge: Every 18 to 24 inches
If your installation is located in a windy environment or on temporary fencing, reduce the spacing between attachment points to provide additional support.
Using more attachment points distributes wind loads more evenly across the screen and helps prevent damage.
Common Privacy Screen Installation Mistakes
Even experienced installers can make small mistakes that affect the appearance and performance of the screen.
Avoid these common issues:
- Installing the Screen Without Measuring: Always verify fence dimensions before installation.
- Pulling the Screen Too Tight: Excessive tension may damage the fabric or reinforced grommets over time.
- Using Too Few Attachment Points: Large gaps between zip ties allow the screen to sag and flap in the wind.
- Ignoring Wind Conditions Installing: during strong winds makes the process more difficult and increases the risk of improper alignment.
- Skipping the Final Inspection Before: finishing the project, check every attachment point and tighten any loose connections.
Installing Privacy Screens in Windy Conditions
Privacy screens increase the amount of wind resistance on a fence. For that reason, proper installation is especially important in areas that experience frequent high winds.
When installing a screen outdoors:
- Increase the number of attachment points.
- Ensure temporary fencing is properly stabilized with bases, braces, or ballast.
- Replace damaged zip ties immediately.
- Inspect the installation after severe weather events.
Properly installed commercial grade privacy screens are designed to withstand outdoor conditions, but routine inspections help maximize their lifespan.

Choose the Right Privacy Screen for Your Project
Every project has different privacy, branding, and security requirements. Selecting the right screen depends on the level of visibility you want to block, local weather conditions, and the type of fencing being used.
SONCO offers privacy screens for construction sites, commercial facilities, sporting venues, special events, and temporary fencing applications. Custom printed options are also available for organizations that want to combine privacy with branding and advertising.
Whether your goal is improving site security, creating a more professional appearance, or reducing visibility into restricted areas, choosing a high quality privacy screen helps protect your investment while enhancing the overall look of your project.

Upgrade Your Fence with SONCO Privacy Screens
Installing a privacy screen is a simple project that delivers long term benefits when completed correctly. Taking the time to measure accurately, secure the screen evenly, and use quality attachment materials helps improve durability, appearance, and performance.
If you are planning a construction project, managing an event, or securing a commercial property, SONCO provides durable privacy screens designed to withstand demanding environments while delivering reliable privacy and professional results.
Explore SONCO’s full selection of privacy fence screens to find the right solution for your next project.

Frequently Asked Questions
Can I install a privacy screen by myself?
Yes. Most installations can be completed by one person, although having a second person makes it easier to keep the screen aligned and evenly tensioned.
What type of zip ties should I use?
Choose heavy duty UV resistant zip ties designed specifically for outdoor use. These provide better durability and longer service life than standard plastic ties. How long does installation take? Most standard fence sections can be completed within 30 to 60 minutes, depending on fence size and the number of installers.
Can privacy screens be installed on temporary fence panels?
Yes. Privacy screens are commonly installed on temporary fencing at construction sites, outdoor events, and restricted access areas. Always verify that the fencing has adequate support before installation.
How long do privacy screens last?
Commercial quality privacy screens can provide several years of reliable performance when installed correctly and maintained regularly.


Trend now

Temporary Fence Rental Lifespan: Tips to Make Your Fence Last Longer
Learn the storage habits that extend the lifespan of every panel.

How to Manage a Crowd at an Event: A Complete Guide for Event Managers
Learn how to manage a crowd at an event with proven strategies for planning, signage, barriers, staffing and more.

How to Install a Mesh Chain-Link Fence: Step-by-Step Guide
Learn how to install a mesh chain-link fence step by step.
Search for category
Request a quote now! 